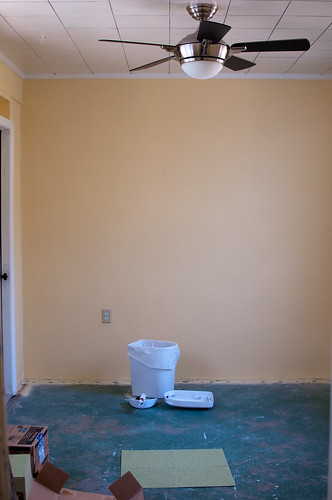
if you recall, the floor looked thusly:

kind of ugly, kind of grimy, kind of housing a few dead roaches under it. the carpet and padding came up easily, but the carpet wood nail things (carpet strips? tacks? what the hell are they called?) were a pain in the butt to pull up as they were nailed into the concrete. we didn't even splurge on a quality pry bar, but bought one that, i believe, cost less than $5. it was also the size of my hand. we are that ghetto. baby pry bar + hammer + a few hours a day and the floor was empty! we did a quick sweep and were so stoked when the special order vinyl composition tile (vct) came in from lowe's just in time for us to install it.

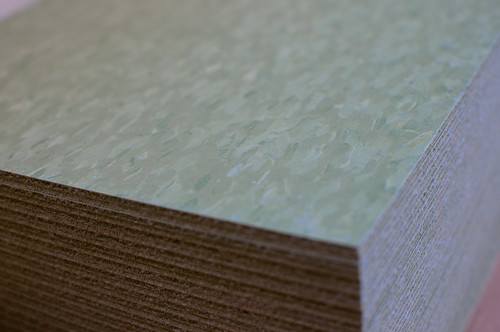
vct boxes are HEAVY. they look so small and unassuming until you try to pick one up fast and are stopped short by its full 60 lb weight.

so here's the room with the 4 boxes of vct. i'm laying it out just to check how it looks. this is also where i fucked up and flipped some of the tiles upside down. DO NOT DO THIS. they are slightly different on both sides - you'll see the result in a bit. the door to the left opens to the alleyway thing (i've GOT to come up with a better name for it) just next to the garage.

here's my ghetto method for determining the center, along with right angles to start laying the tile. something to do with point A and point B, and then using twine to make an arc. then make a second arc and where they intersect is the magic spot, blah blah, i'm putting myself to sleep. twine, tape and a sharpie. it sorta worked. the little tool on the bottom right is the razor scraper to remove carpet and glue leftovers from the floor.

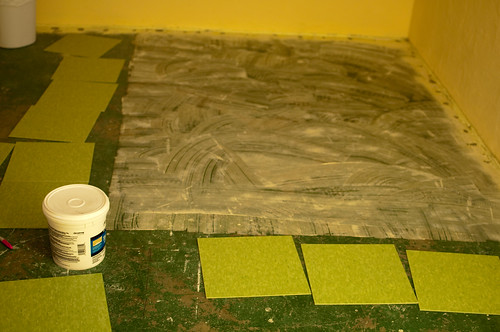
the laying of the tile started at night in very low lighting. sometimes, i just can't wait to do things! i get all in a tizzy and i can't stop until i've started and realized... hey... maybe i should have waited until daylight. oh well! couldn't stop, since the tile had to be laid within a certain time frame of the adhesive troweling.

completed! as you can see, some of the tiles are darker than others. *sigh* those are the tiles i accidentally flipped. once i realized it, i tried to place them randomly so it looked like it was on purpose. either way, i don't care. it's done and looks damn good! and by "good" i mean, it wasn't the old carpet and it wasn't utterly eff'd up. we even used polish on it - we were hoping that it would even out the tone of the tiles, but no luck.
in fact, i was able to lay the tile, polish it and move all my craft stuff into the room in a total of 4.5 days. i rocked it and i love it sooo much. now all that's left is figuring out how to attach curtain rods to the concrete walls.
we've still got some huge gaps near the wall - trim is very much needed to hide the edges, but that's not even on the agenda at present. we've moved on to the band room and keeping our laundry clean. at some point i'll take some photos of the completed craft room - perhaps when the curtains are up.
2 comments:
i actually like the flipped look. it gives it a little more "something" without an actual design, which would probably have been a little much in that room. at least, i imagine so based on your photos. it's hard to tell without being there in person.
let me show you this, by michela (that girl i keep talking about hooking you up with) as inspiration for wall decor:
http://lostmysuperpowers.blogspot.com/2010/03/getting-there.html
kim, fabulous! i love this look and we've thought about doing it in our kitchen.
Post a Comment